Giving your living space a fresh new look is easy with a new coat of paint. Many homeowners choose interior painting each year. It can make a room feel bigger, brighter, or cozier, based on the paint you pick.
With the right interior painting tips, you can get professional results without spending a lot. We’ll show you how to paint your home like a pro. You’ll learn all about DIY home painting to make your project a hit.
Key Takeaways
- Preparation is key to a successful painting project.
- Choosing the right paint and tools is crucial.
- Understanding color schemes can enhance your space.
- Techniques like cutting in and rolling can improve finish.
- Cleanup and maintenance are just as important as the painting process.
Understanding the Basics of Interior Painting
Interior painting can totally change how your home looks and feels. It makes your living space feel new and fresh. To get the best results, you need a strong foundation.
Why Paint?
Painting your walls is a simple and affordable way to update your home. It not only makes your home look better but also protects it. The right paint color can make a room feel bigger or cozier.
Painting is also a fun way to express yourself and make your space unique. Whether you want to change one room or your whole house, painting is a great start.
Choosing the Right Paint Finish
There are many paint finishes to choose from, each with its own look and durability. Flat paint is best for areas that don’t get a lot of use, like ceilings. It hides imperfections well. But, for places like kitchens and bathrooms, satin or semi-gloss is better. They’re easier to clean and more durable.
Types of Interior Paints
There are many types of interior paints, each with its own benefits. Latex paint is water-based and dries fast. It’s also easy to clean up. Oil-based paint gives a smooth finish but takes longer to dry and has stronger fumes.
Epoxy paint is very durable and great for places that get a lot of use. Knowing about these paints helps you choose the right one for your needs.
Preparing Your Room for Painting
Before you start painting, it’s crucial to prepare your room. This ensures a smooth and efficient process. Proper preparation makes painting easier and helps achieve a professional-looking finish.
Clear the Space
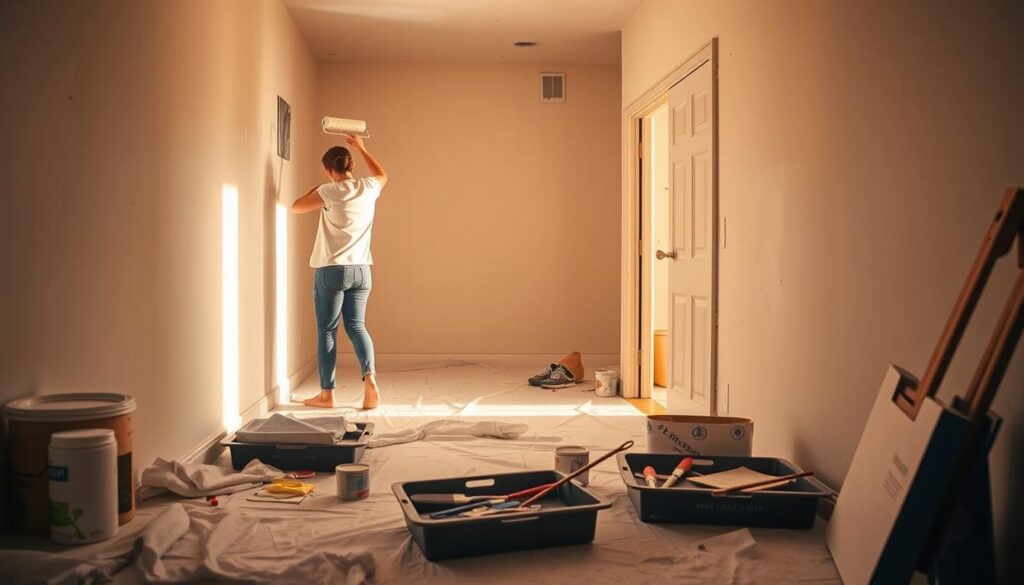
To start, clear the room of all furniture and items that could get damaged by paint. Remove lights, blinds, and other fixtures. If you can’t remove all furniture, cover it with drop cloths or plastic sheets.
Check the surfaces for any cracks or imperfections. Fixing these before painting is key for a smooth finish.
Protecting Flooring and Furniture
Protecting your flooring and furniture is essential. Use drop cloths or plastic sheets to cover these areas. For extra protection, tape the coverings in place to prevent them from moving.
Remove any rugs or mats that could get damaged. If that’s not possible, ensure they are well-covered. For hardwood or tile floors, a simple drop cloth works. But for carpeted areas, use a waterproof layer to prevent paint spills.
Gathering Necessary Supplies
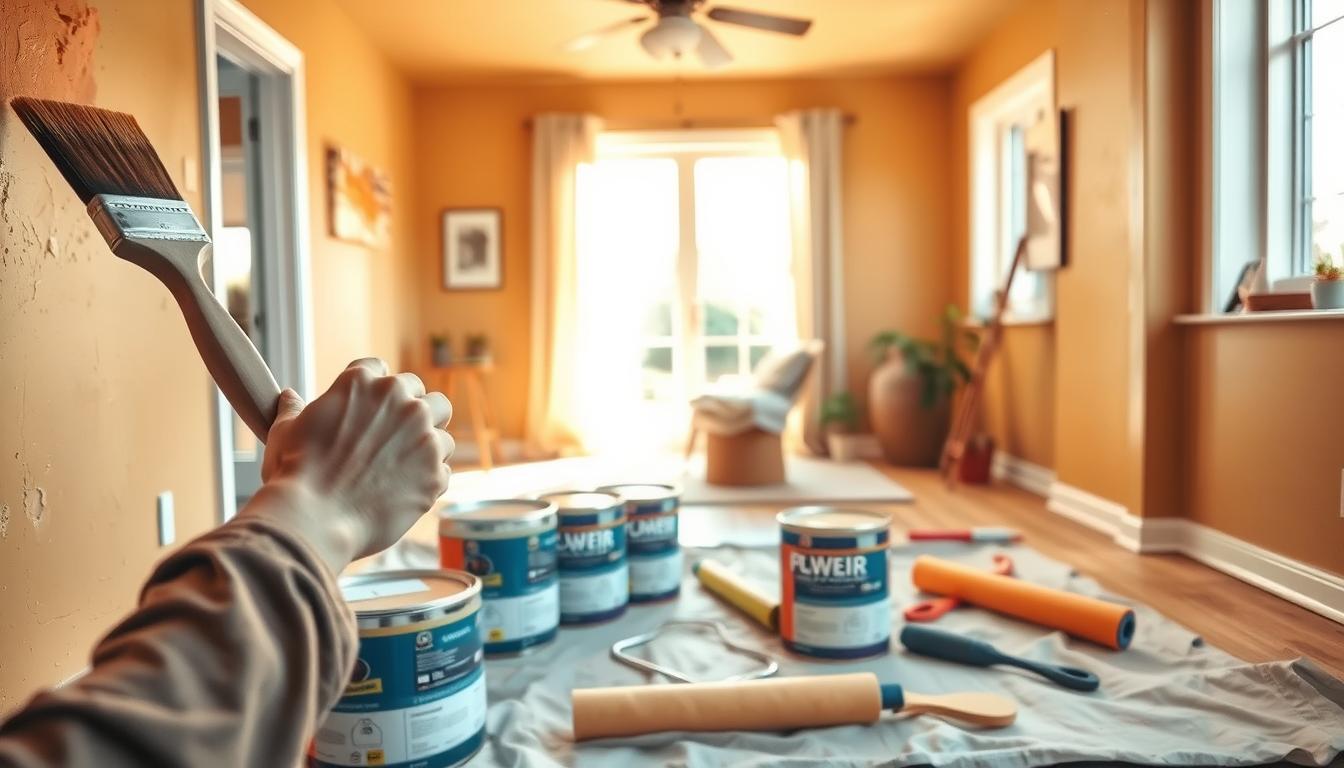
Gathering all painting supplies and tools before starting is vital. Our list should include:
- Paint and primer (if necessary)
- Paintbrushes of various sizes
- Roller extension poles
- Roller covers
- Paint trays
- Tape (for edges and trim)
- Drop cloths or plastic sheets
- Cleaning supplies
Having everything we need within arm’s reach saves time and reduces mistakes. It’s also wise to have water and rags for cleaning brushes and rollers.
Choosing the Right Colors for Your Home
The right colors can change how your home feels. It’s key to know about color theory and how to use it. When picking colors, we’re not just picking a color. We’re setting the mood and look of our space.
Understanding Color Theory
Color theory helps us mix colors in a way that looks good together. It’s based on the color wheel, with primary colors like red, yellow, and blue at the center.
Understanding the color wheel is crucial because it shows us which colors go well together. For example, colors opposite each other on the wheel are called “complementary colors.” They make a nice contrast.
Creating a Color Palette
With color theory in mind, we can pick colors for our home. A color palette has a main color, a secondary color, and an accent color. The goal is to mix these in a way that looks good together.
To get a balanced look, we can use the 60-30-10 rule. This means 60% of the room is the main color, 30% is the secondary color, and 10% is the accent. This rule helps create a nice color scheme.
Sample Swatches and Test Areas
Before choosing a paint color, we should test it. We can paint small swatches on the walls or use paint samples. This is important because colors can look different on a small swatch than on a big area.
We should also see how the color looks at different times and under different lights. It’s a good idea to mix paint in a big bucket to make sure the color is even, if we’re painting a big area.
| Color Theory Concept | Description | Application |
|---|---|---|
| Complementary Colors | Colors opposite each other on the color wheel | Creates contrast and visual interest |
| Analogous Colors | Colors next to each other on the color wheel | Produces a harmonious and soothing palette |
| 60-30-10 Rule | Dividing the room into 60% dominant, 30% secondary, and 10% accent color | Creates balance and visual appeal |
Selecting the Right Tools for the Job
Choosing the right equipment is crucial for a smooth painting process. For DIY home painting, the right painting supplies and tools are key to a professional finish.
Brushes vs. Rollers
Deciding between brushes and rollers is a big choice. For latex paints, brushes with synthetic bristles are best. A 2½-inch angled sash brush is great for edges and corners.
Rollers are better for big, flat areas. Think about the surface and paint type when choosing. Rollers with a ½-inch nap work well for smooth surfaces and latex paint. For textured surfaces or oil-based paints, a longer nap roller might be needed.
Paint Trays and Liners
Paint trays are vital for rollers. Look for trays with grid inserts to cut down on drips and waste. Paint tray liners make cleanup easy, as you can just throw them away.
Specialty Tools to Consider
Some projects require specialty painting tools. A paint edger helps with sharp lines. Stencil brushes or sponges can add decorative touches.
With this step-by-step painting guide, you’re ready to paint with confidence. The right tools make the job easier and improve the finish.
Ensuring Proper Ventilation While Painting
Good airflow is key for a safe painting project. It helps get rid of paint fumes and particles. This makes the air healthier for everyone.
Opening Windows and Doors
Opening windows and doors is the simplest way to ventilate. It lets fresh air in and pushes out paint fume-filled air. Try to open windows on opposite sides for a cross breeze.
- Open windows and doors to create a cross breeze.
- Use window fans to pull paint fumes out of the room.
Using Fans Effectively
Fans can help a lot with ventilation. Place a fan near an open window to better remove fumes. Make sure the fan blows air outwards, away from the painting area.
- Position a fan near an open window to exhaust paint fumes.
- Avoid blowing air directly onto wet paint, as this can cause it to dry too quickly.
Safety Precautions with Paint Fumes
Even with good ventilation, safety is still important. Always wear a respirator mask rated for paint fumes. Also, limit your time painting and take breaks in fresh air.
Key safety tips include:
- Wearing a respirator mask to protect against paint fumes.
- Taking regular breaks in well-ventilated areas.
- Following the manufacturer’s instructions for paint and safety equipment.
By following these tips, you can have a safer and more fun painting experience. Remember, good ventilation is not just about comfort. It’s also about your health and safety.
Step-by-Step Guide to Painting Walls
To get a professional look, follow a step-by-step guide for painting walls. Painting walls can be easy if you know the right steps.
Starting with the Edges
Start by painting the edges with a brush. This creates a clean border.
Applying the First Coat
After the edges, use a roller for the main area. Work in sections to avoid drips.
Achieving Even Coverage
For an even finish, paint in a ‘W’ or ‘M’ pattern. Let the first coat dry before adding a second coat if needed.

Adding Special Finishes and Effects
Take your painting to the next level by adding accent walls, stenciling, and textured paint. These techniques add depth, personality, and a professional touch to your interior painting project.
Accent Walls
Accent walls create a focal point in a room. Choose a bold, contrasting color for one wall to add visual interest and drama. Consider the room’s color scheme and the effect you want to achieve.
For a harmonious look, pick a color that complements the existing palette. For a dramatic effect, choose a color that contrasts sharply with the other walls.
To achieve a crisp, clean edge, use painter’s tape or a wide putty or taping knife as a guide. This technique allows for a sharp line without the need for tape.
Stenciling Techniques
Stenciling adds personality to your walls. With a wide range of stencil designs, you can create patterns, motifs, or even murals that reflect your personal style. Choose a stencil that fits your design aesthetic and the room’s décor.
Secure the stencil to the wall with tape or a spray adhesive, and apply paint using a stencil brush or a foam roller. For a more intricate design, consider layering multiple stencils or using different colors. This technique adds complexity and visual interest to your walls. For more information on various painting effects, including stenciling, visit Resene’s guide on paint effects.
Textured Paint Options
Textured paint adds a tactile element to your walls, creating a unique visual effect. There are various types of textured paint available, from fine texture additives to heavy texture mixes. When applying textured paint, use a roller or brush designed for textured finishes to achieve an even coat.
| Technique | Description | Best For |
|---|---|---|
| Accent Walls | Creates a focal point with a bold color | Rooms needing a dramatic touch |
| Stenciling | Adds patterns or motifs with precision | Spaces wanting unique designs |
| Textured Paint | Provides a tactile, visual effect | Walls needing an extra dimension |
By incorporating these special finishes and effects into your painting project, you can achieve a truly professional-looking result. This result reflects your personal style and enhances your home’s interior.
Cleaning Up After Painting
Cleaning up is the last step in your painting project. It’s important to keep your tools and workspace clean. This way, your painting supplies will last longer for future projects. It also keeps your home safe and free from paint residue.
Proper Brush and Roller Cleaning
After painting, it’s key to clean your brushes and rollers. To clean paintbrushes, run them under warm water with the bristles down. Use dish detergent to get rid of paint. For rollers, scrape off extra paint and then wash with warm soapy water.
Step-by-Step Brush Cleaning:
- Run under warm water to remove loose paint.
- Apply dish detergent and work into a lather.
- Rinse thoroughly until water runs clear.
- Shape bristles to prevent damage.
Safely Storing Leftover Paint
If you have leftover paint, it’s important to store it safely. Make sure the paint can is tightly sealed. Label it with the color name and date. Store it in a cool, dry place, away from sunlight.
| Storage Tip | Description |
|---|---|
| Tight Sealing | Ensure the paint can is tightly sealed to prevent drying out. |
| Labeling | Label the can with the color name and date for future reference. |
| Cool, Dry Place | Store paint in a cool, dry area away from direct sunlight. |
Disposing of Supplies Responsibly
It’s important to dispose of painting supplies responsibly. Dispose of rags and paper towels in a sealed metal container. Check with local authorities for guidelines on disposing of leftover paint and materials.
By following these cleanup tips, you’ll keep your painting supplies and tools in good shape. This ensures they’re ready for your next project. Also, by safely storing leftover paint and disposing of supplies responsibly, you help the environment.
Tips for Maintaining Your Newly Painted Walls
To keep your newly painted walls looking great, regular care is crucial. Caring for your walls keeps your home looking fresh and vibrant. It also makes the paint last longer.
Regular Cleaning Routines
Cleaning your walls regularly is key to keeping them looking good. Gently dust your walls with a soft cloth or duster. For deeper cleaning, use a damp cloth but avoid harsh chemicals or abrasive cleaners.
For more detailed cleaning tips, check out Benjamin Moore’s guide on cleaning painted walls.
Touch-Up Techniques
Fixing small scratches or marks on your walls is easy with leftover paint and a small brush. It’s important to match the paint color as closely as possible to the original. For minor scuffs, a simple touch-up can make a big difference.
We recommend saving some leftover paint for future touch-ups.
Dealing with Stains and Scuffs
For tougher stains or scuffs, you might need a gentle cleaning solution. But always test any cleaning solution on a small, hidden area first. This ensures it won’t damage the paint. Sometimes, a stain may need a more detailed touch-up or even repainting.
Here’s a quick reference table for maintaining your newly painted walls:
| Maintenance Task | Frequency | Tips |
|---|---|---|
| Dusting | Weekly | Use a soft cloth or duster |
| Damp Cloth Cleaning | Monthly | Avoid harsh chemicals |
| Touch-ups | As needed | Use leftover paint and a small brush |

Mistakes to Avoid When Painting
Painting your home can be a big project. Avoiding common mistakes is key to a great result. We’ll look at some common errors and how to steer clear of them.
Skipping Prep Work
Skipping prep work is a big mistake. It means not cleaning walls, fixing holes, or removing old paint. Proper preparation leads to a smooth finish.
Choosing the Wrong Paint Finish
Choosing the wrong paint finish is another error. Different areas need different finishes. For example, high-gloss is good for trim, while flat is better for ceilings.
Ignoring Dry Times
Not following dry times can ruin your paint job. Always wait the recommended time before adding more coats.
Hiring Professionals vs. DIY Painting
Choosing whether to paint your home yourself or hire a pro is a big decision. It depends on the project size, your budget, and how comfortable you are with DIY tasks.
When to Consider a Professional
For big or tricky projects, like painting many rooms or intricate trim, hiring a pro is wise. They have the skills and tools to do it well and fast.
If you’re busy or can’t paint yourself, a pro is a good choice. They’ll finish quickly and right, saving you stress and health risks.
Cost Comparisons
Cost is a big factor in choosing between DIY and hiring a pro. Pros charge more upfront for labor and materials. But, they often get better deals on materials and guarantee their work.
DIY painting saves on labor but costs time and might mean redoing mistakes. Here’s a cost comparison:
| Cost Factor | Hiring a Professional | DIY Painting |
|---|---|---|
| Labor Costs | Included in the quote | Your time (free but valuable) |
| Material Costs | Often discounted due to professional discounts | At retail prices |
| Guarantee/Warranty | Typically included | None |
Benefits of DIY Projects
DIY painting has its perks, like saving money and feeling proud of your work. It lets you control every detail, from colors to finish.
DIY painting is rewarding and lets you have full control. It’s a chance to refresh your home without spending a lot.
To succeed with DIY painting, prepare well. Choose the right paint and tools, get your space ready, and follow safety rules to avoid accidents.
Final Thoughts on Painting Your Home Interior
With the right preparation and techniques, you can get professional-looking results. The effort in preparing your space and choosing the right materials really pays off.
Now that you’ve finished painting, it’s time to enjoy your new space. Take a step back and see how a fresh coat of paint has changed the room. Whether you chose a bold color or a subtle refresh, it makes a big difference.
Reflecting on the Experience
As you enjoy your newly painted space, think about what you’ve learned. You can use these tips for future painting projects. This will make the process even easier.
Planning Future Projects
With your newfound confidence, you might want to tackle other areas of your home. Think about painting different rooms or trying new techniques. Future painting projects can help keep your living space looking fresh.


