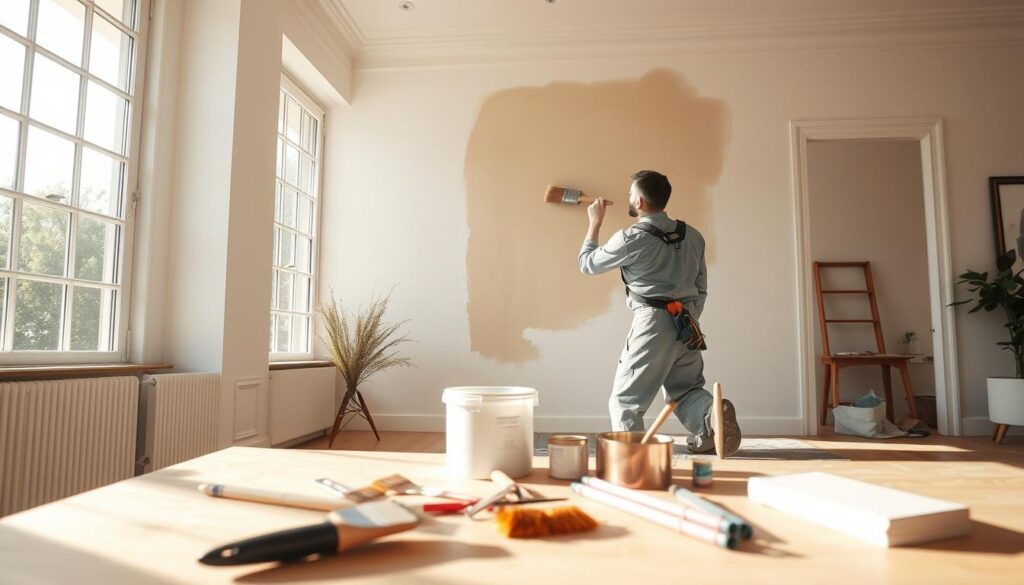
Did you know a fresh coat of paint can boost your home’s value by up to 5%? Painting the interior is a big job, but it can be done yourself with the right help. Experts say getting ready is the most important part of painting.
We’ll show you how to do it, from picking the best paint to the last details. Whether you’re thinking of getting professional home painters or doing it yourself, our guide has all you need for a stunning finish.
Key Takeaways
- Preparation is crucial for a successful painting project.
- Choosing the right paint and materials is essential.
- Hiring professional home painters can ensure a high-quality finish.
- A well-planned painting project can increase your home’s value.
- Following a step-by-step guide can make the process less daunting.
Assessing Our Space and Choosing Colors
Choosing the right paint colors for our home is a thoughtful process. It’s important to make sure the colors are both beautiful and practical.
Evaluating Our Rooms and Their Functions
When looking at our rooms, we should think about their purpose. For example, a bedroom should be calm, while a home office might need more energizing colors.
Let’s look at how the room’s function affects our color choice:
| Room Type | Recommended Color Scheme | Why It Works |
|---|---|---|
| Bedroom | Soft blues, pale greens | Promotes relaxation and sleep |
| Home Office | Neutral tones, vibrant accents | Enhances focus and productivity |
| Living Room | Warm neutrals, rich colors | Creates a welcoming atmosphere |
Considering Lighting and Natural Elements
Lighting and natural elements greatly affect how paint colors look in our home. Natural light can change the color’s look throughout the day.
It’s key to see how the room’s lighting changes the color at different times. We should also think about the color of our furniture and decor, as they affect the wall color.
Selecting a Color Palette
After evaluating our room and considering the lighting, it’s time to pick a color palette. We can choose from many schemes, like monochromatic, complementary, or analogous.
- Monochromatic: Different shades of the same color create a cohesive look.
- Complementary: Colors opposite each other on the color wheel make for a bold statement.
- Analogous: Colors next to each other on the color wheel produce a harmonious palette.
By carefully assessing our space and choosing the right colors, we can achieve a beautiful and functional interior painting result.
Gathering Our Supplies and Tools
Having the right supplies and tools is key to a successful painting project. When painting our home’s interior, we must think about the interior house painting cost. This cost affects our budget for supplies and tools.
Essential Painting Supplies We Need
To begin, we must gather the necessary painting supplies. These include:
- Paint: The right type and finish are crucial. We should look at durability, color retention, and application ease.
- Paintbrushes: We need various sizes and types for different areas and effects.
- Rollers and extension poles: These help cover large surfaces efficiently.
- Paint trays: They hold and carry the paint.
Choosing the Right Brushes and Rollers
Choosing the right brushes and rollers is key for a professional finish. The paint type and surface texture guide our selection. For example, synthetic brushes are good with latex paint, while natural brushes are better for oil-based paints.
Protective Gear and Safety Equipment
Safety is our top priority. Essential protective gear includes:
- Masks or respirators to avoid inhaling fumes and particles.
- Goggles to protect our eyes from splatters.
- Gloves to keep our hands clean and safe.
- Drop cloths or tarps to cover floors and furniture.
By gathering all necessary supplies and tools, we can ensure a smooth painting experience. If we’re not comfortable with the project, hiring an affordable painting contractor is an option. But with proper preparation, we can achieve professional-looking results on our own.
Preparing Our Walls for Painting
Getting our walls ready for painting is crucial. We must clean, repair, and protect them before painting.
Cleaning and Repairing Surface Imperfections
We start by cleaning our walls. This removes dirt and grease that can stop paint from sticking. A mix of mild detergent and water works well for scrubbing.
After scrubbing, we rinse the walls with clean water. Let them dry completely before moving on.
Then, we fix any holes or cracks. Spackling compound fills these spots, and sanding makes them smooth. For bigger holes, we might use a patching compound or mesh patch.
Key steps in repairing surface imperfections include:
- Cleaning the area around the imperfection
- Applying spackling compound or patching material
- Sanding the area smooth
Removing Fixtures and Furniture
Before painting, we remove fixtures and furniture. This includes outlet covers and decorative items. We also move furniture away or cover it with drop cloths.
This step protects our belongings and makes painting easier. It gives us clear access to the walls.
Taping Off Edges and Areas
To get sharp lines, we use painter’s tape. It’s important to apply the tape carefully for a professional look. Press it firmly to prevent paint from seeping under.
We tape off areas like baseboards and windowsills. This way, we can paint confidently, knowing these spots won’t get painted.
By following these steps, we prepare our walls for painting. This leads to a successful and satisfying project.
Priming Our Walls for Optimal Results
To get the best results in our painting project, we need to prime our walls. Priming creates a uniform base and helps paint stick better. This leads to a professional finish.
https://www.youtube.com/watch?v=msoKy5-M2X4
Understanding When to Use Primer
Primer isn’t always needed, but it’s a good idea in some cases. We should prime bare wood, metal, or drywall for better paint adhesion. It’s also useful for covering dark or bold colors to prevent bleeding.
For more detailed guidance, we can check Home Depot’s guide on how to prime a wall.
Selecting the Right Primer for Our Project
Choosing the right primer is key for a successful painting project. There are many types of primers, like latex, oil-based, and shellac-based. Latex primers work well for most interior projects.
Oil-based primers are better for trim and surfaces needing a hard finish. Shellac-based primers are great for covering stains and odors. We should pick a primer based on the surface and paint type we’re using.
For water-based paint, a latex primer is a good choice. For oil-based paint, an oil-based primer is better. Some primers are made for specific surfaces, like drywall or wood.
Applying Primer Effectively
Applying primer correctly is as important as choosing the right one. First, we need to prepare the surface, making sure it’s clean and dry. Then, we apply the primer with a roller or brush, covering sections evenly.
It’s crucial to follow the manufacturer’s instructions for application and drying times. We should let the primer dry completely before painting.
Using primer correctly can greatly improve our painting project’s outcome. By knowing when to use it, choosing the right type, and applying it well, we can get a professional-looking finish. Whether we hire professional home painters or do it ourselves, priming is a must.
Mastering the Painting Techniques
For a top-rated finish, interior painters use proven techniques. It’s not just about painting walls. It’s about knowing the best methods and tools.
Using the Right Painting Methods
First, learn the different ways to apply paint. Experts say the right brushes and rollers are key. They help get a smooth finish.
For example, a good roller with the right nap length prevents texture problems. The right brush for edges and corners is also important for a clean finish.
Tips for Evenly Coating Surfaces
To get an even coat, work in sections and keep a wet edge. Divide your wall into areas and paint from top to bottom. This prevents drips and streaks.
“Painting is not just about applying color; it’s about creating a uniform finish that enhances the beauty of your space.” This ensures your project looks professional.
Managing Paint Drips and Overlaps
Even with great techniques, drips and overlaps can happen. The trick is to handle them well for a smooth finish. Use a paint tray with a grid to reduce drips.
For overlaps, work in small sections and use a light touch. This blends the paint edges for a seamless look. Experts say, “The key to a flawless finish is to blend, blend, blend.”
By learning these techniques, you can get a professional finish. Whether you’re doing it yourself or hiring a trusted painting company, knowing the right methods is key.
Adding Finishing Touches to Our Project
Now, let’s talk about the final touches that make our interior painting project shine. Getting an affordable painting contractor can greatly improve the finish.

Selecting and Applying Trim and Molding
Choosing the right trim and molding can really boost our walls’ look. Here are some tips:
- Match the trim and molding with our wall colors.
- Think about our home’s style when picking trim and molding.
- Measure well to get a perfect fit.
When putting on trim and molding, use the right tools and methods. This means using a level for straight lines and caulk for any gaps.
Touching Up Areas for a Polished Look
Even with careful planning, some areas might need a touch-up. This could be where paint got on the trim or where tape pulled off paint.
To get a polished finish, we suggest:
- Use a small brush for touch-ups.
- Try to match the paint color as closely as you can.
- Apply thin coats to avoid thickening.
By following these steps and maybe getting help from interior painting services for tricky parts, we can make sure our project looks great.
Cleaning Up After Our Painting Job
After we finish painting your home, cleaning up is key. It makes sure our work area is safe and clean. This also keeps our painting job looking great.
Cleaning up means doing a few important things. First, we handle leftover paint and materials. Proper storage is crucial to avoid accidents and save paint for later.
Properly Storing Leftover Paint
To store leftover paint, check if the can is sealed well. If it’s still good, label it with color, room, and date. Keep paint cans in a cool, dry spot, out of sunlight.
If you don’t need the paint, think about donating it or following local rules for hazardous waste.
Cleaning Our Brushes and Rollers
Cleaning our brushes and rollers is important for their future use. For water-based paints, wash them with soap and warm water. For oil-based paints, use mineral spirits.
After cleaning, reshape the brushes and let them dry. This keeps them in good shape for our next project.
Safely Disposing of Materials
Disposing of materials safely is a big part of cleaning up. Follow local rules for rags, paper towels, and paint-soaked items. Some might be hazardous waste and need special disposal.
By doing these steps, we ensure a clean and safe finish after painting. Your home stays safe, and our tools stay in top shape.
Maintaining Our Freshly Painted Walls
To keep our newly painted walls looking great, regular care is key. We’ve worked hard to paint our home’s interior with the help of professional home painters. Now, we want to keep the best interior paint colors looking fresh and beautiful.
Tips for Regular Cleaning and Care
Keeping our walls clean is crucial. We should dust them gently with a soft cloth or duster to remove dust and dirt. For tough stains, a damp cloth works well, but we must avoid scrubbing too hard.
It’s important to avoid harsh chemicals or abrasive cleaners. They can damage the paint or the wall. Instead, mild soap and water are good for tougher stains.

Identifying and Addressing Wear and Tear
Our walls may show signs of wear and tear over time, like scratches or fading. Spotting these issues early helps us fix them before they get worse.
For small scratches or scuffs, touch-up paint can fix the wall. If the damage is bigger, we might need to repaint the whole wall to keep it looking even.
| Issue | Solution |
|---|---|
| Dust and dirt | Gentle dusting with a soft cloth |
| Stubborn stains | Damp cloth with mild soap |
| Minor scratches | Touch-up paint |
By following these tips and staying proactive, we can enjoy our newly painted home for many years. Regular care and attention to any problems will help keep our walls looking beautiful and our home’s aesthetic intact.
Reflecting on Our Painting Experience
As we finish our interior painting project, it’s time to think about what happened. We look at what went well and what didn’t. This helps us learn and get better for next time.
Evaluating the Process
We check how we painted, including getting ready, choosing materials, and how we applied them. If we used a painting company, we see if they did a good job. This helps us improve for the next project.
Lessons Learned and Future Projects
Thinking back, we learn things to use in future painting jobs. Whether we do it ourselves or get help, we’ll make smarter choices. Our experience will guide us.
Now that it’s done, we can see how much it changed. We’re proud of making our home look better.


